Communication Tools
- Andrew Aylesbury (Deactivated)
- Sanket Shrestha
Introduction
This menu tab contains various options to communicate with users within the System:
- News & Events and Reminder - creation and management of announcements, events, and reminders and the allocation of which users can view it on their home page.
- Mailing List - send bulk email to Students or Staff using the mailing list interface.
- SMS Notification - an Optional Module to enable sending of bulk SMS to Students or Staff.
- Communication Log - Bulk - record entries to the communication log/diary for multiple Students without having to go use the individual Student Profile pages.
- Communication Log - Individual - record entries to the communication log/diary for a Student without having to go use the Student Profile page.
- Survey Management - creation and management of questionnaires and evaluation forms which can be sent to Students to complete a survey.
Email and SMS Templates can be used when communicating with users via the Mailing List and SMS Notification functions.
To use the Communication Tools navigate to the Communication Menu Tab

View News and Reminders
To access follow the instructions below:
- On your Meshed platform, go to your Home page
- Click News and Reminders button
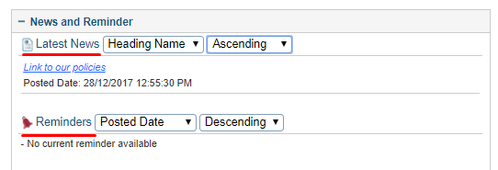
- The News and Reminders information is displayed

The announcements, events, and reminders are displayed to assigned Users. The display order can be modified using the associated drop-down menus.
Manage News and Reminder
To create and manage announcements, events, and reminders navigate to Communication > Manage News and Reminder

The News and Reminders Events currently in the System are listed at the bottom of the page. Each Event listed has Action Icons to access additional functionality.
News and Reminders Events functions:
- Add New
- Edit/Modify
- Assign Access
- Delete

There are two Event Types; News & Events and Reminder which are displayed in the relevant sections of the News and Reminder panel on the User Home Page.
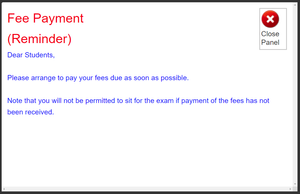
Events can optionally be set as an Announcement which results in the Event information being displayed in a popup window to the assigned Users when they log-in to the system.
Events can have their Recurring Interval set as: Once Only, Weekly, Fortnightly, or Monthly
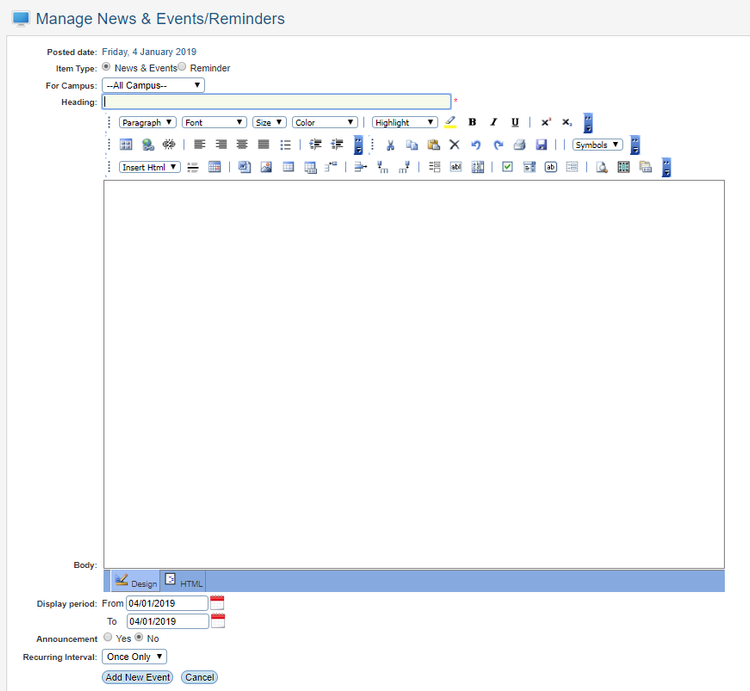
Add New Event
To create a new Event:
- Select Event Type - News & Events or Reminder
- Select Campus from the drop-down (Optional Field).
- Enter relevant information - Heading, Body, Display Period, Announcement, and Recurring Interval
- Click Add New Event.
The new Event will be added to the Event list at the bottom of the page.
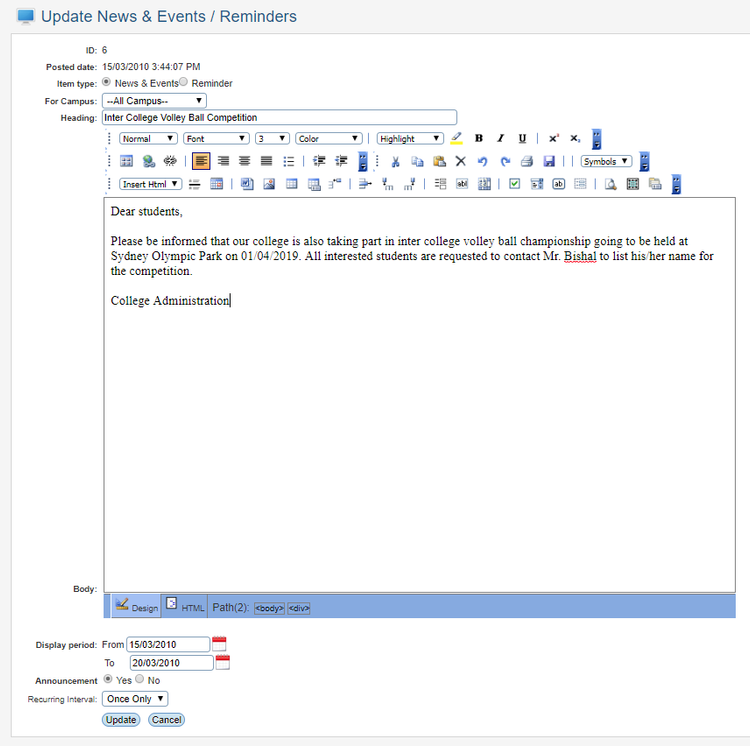
Edit Event
The Event can be edited as required:
- Click the Edit Action Icon

- Edit relevant information as required - Heading, Body, Display Period, Announcement, and Recurring Interval
- Click Update
Delete Event
Events can be deleted as required:
- Click the Delete Action Icon to delete

Assign Event Access
Events can be assigned to Users as required:
- Click the Assign Action Icon

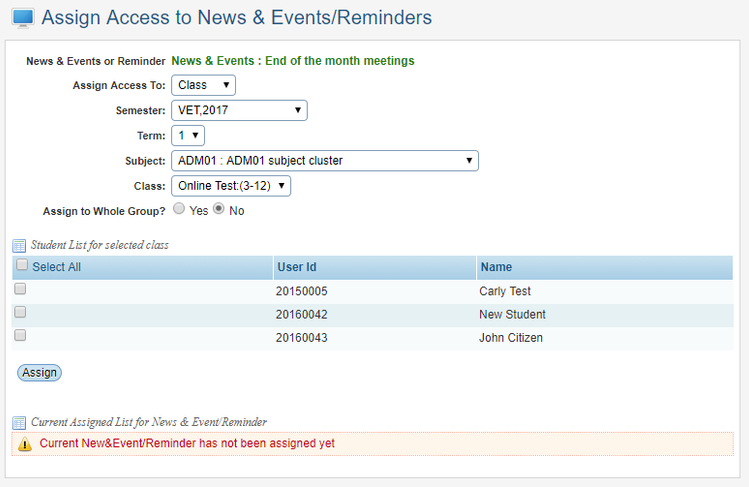
There four Assign Access To options available to use to filter and select Users to see the Event:
- Class
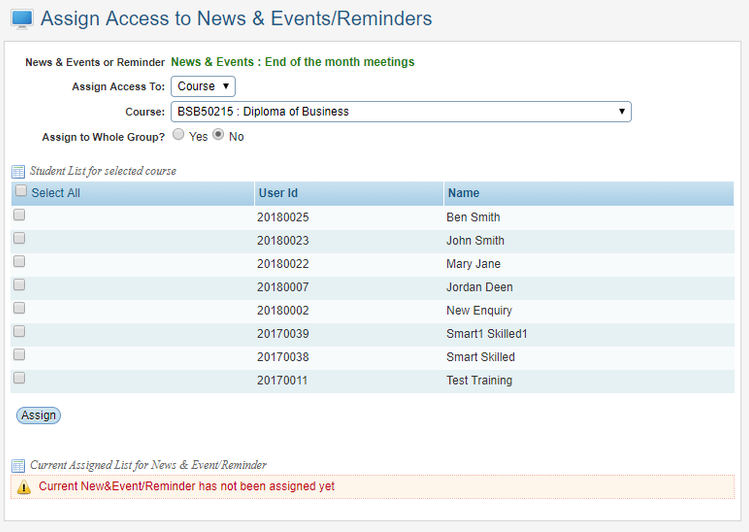
- Course
- User
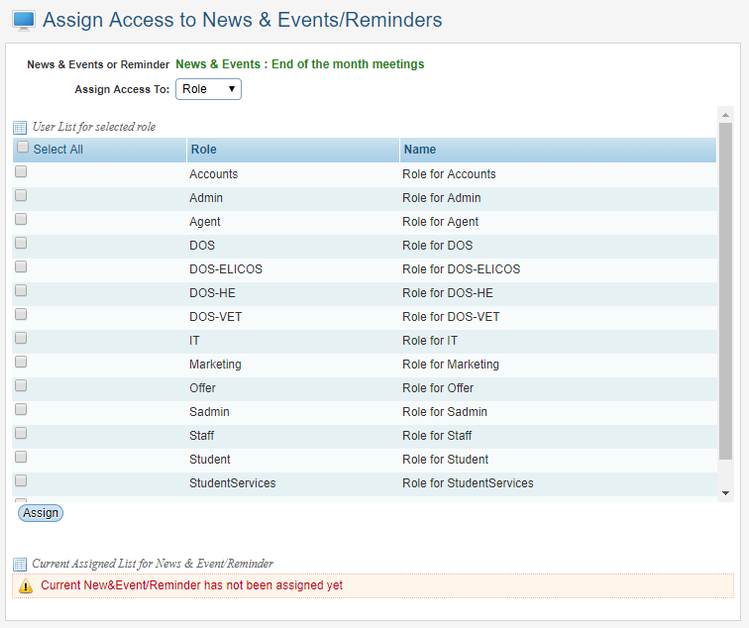
- Role
Each of these filter options can enable additional filtering using other relevant values.
The results of the filtering are displayed in a list for selection of Users to see the Event.
Class
Course
User

Role
2. Select the Students or Staff by ticking the checkbox, or optionally select Assign to Whole Group
3. Click Assign
4. Once assigned they will be added in the 'Current Assigned List'
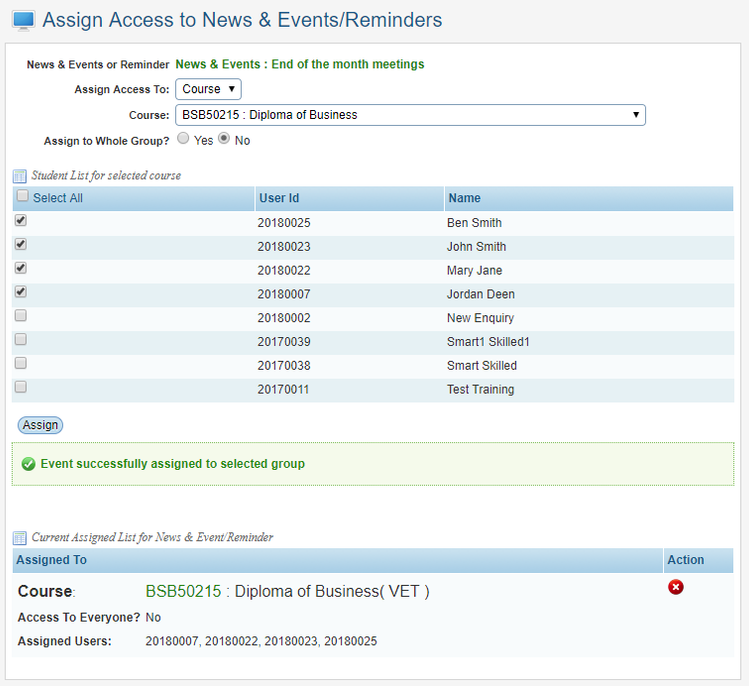
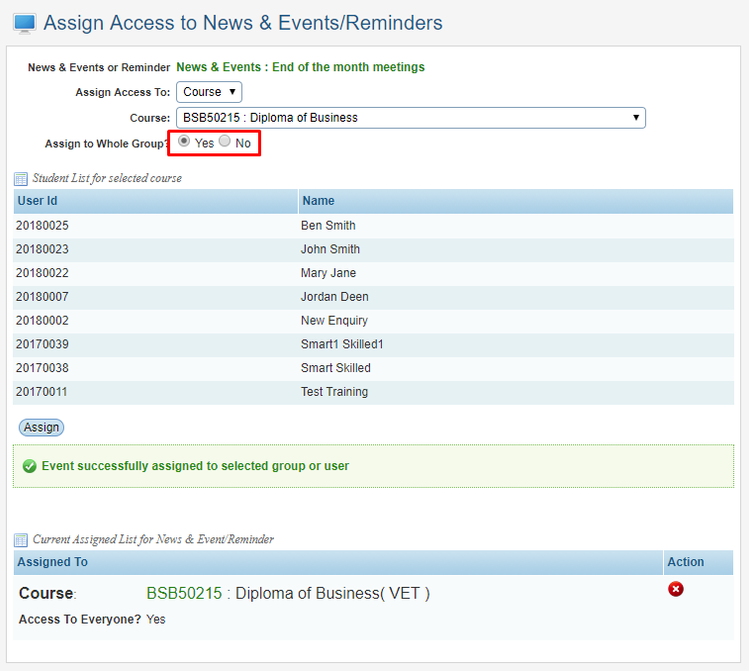
Click the Delete Action Icon to delete an Assignment if required.
Mailing List
The ability to send bulk email to selected Students or Staff using the mailing list interface.
Email Templates can be used when communicating with users via the Mailing List functions.
By default the System will add the email as an entry to the Communication Diary/Log for each recipient (Student or Staff).
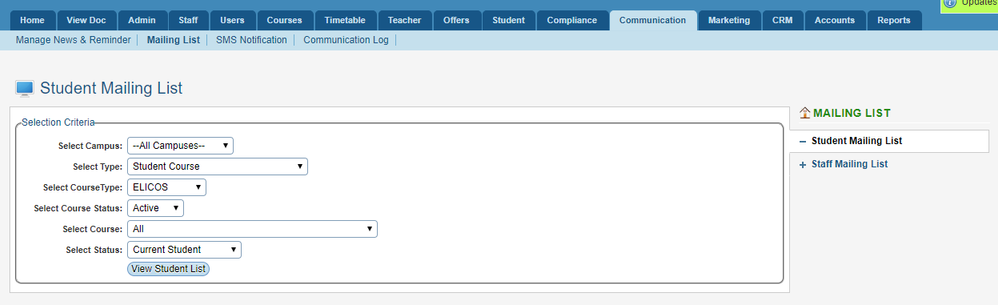
To send bulk email to Students or Staff navigate to Communication > Mailing List
Student Mailing List
To send bulk email to selected Students:
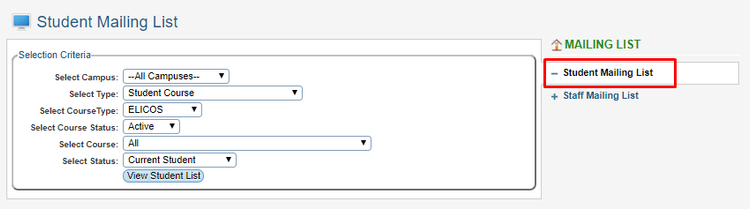
- Select the Student Mailing List menu tab
2. Select required options in the Selection Criteria fields - Campus, Type, Course Status, Course, Status
3. Click View Student List
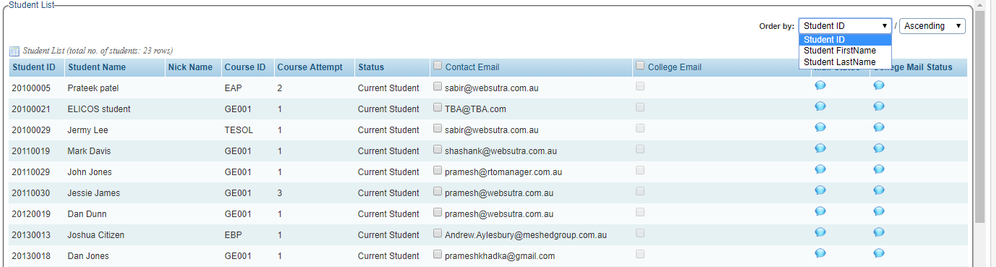
4. The search result Student list of will be shown on the bottom of the page. The list can be ordered by different criteria.
5. Select the required Student recipients for the Email by ticking the check-box
Select Type
Select Type Options:
- Student Class List - Class Timetable and Assessment Groups
- Student Course
- Student Course Between Dates
- Student Course Finish Date Between Dates
- Subject Starting Between Dates
- Subject Census Date Between Dates
- Particular Student
- Semester and Term
6. Select From email address
7. Enter optional CC email addresses - this can be multiple emails separated by comma (email1,email2,...)
8. Select a Template or enter the required Subject and Body Message
9. Optionally attach any Files
10. Select option to add the email as an entry to each Student Communication Log
11. Click Send Mail

Email Send Status
Successful mail delivery will be displayed by green ![]() icon and a status message
icon and a status message
Staff Mailing List
To send bulk email to selected Staff:
- Select the Staff Mailing List menu tab

2. Select required option in the Mailing List Type drop-down - All Active Staff or Staff Position
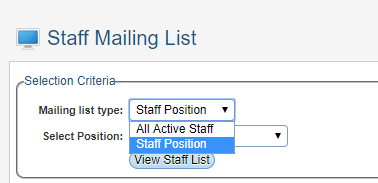
3. Click View Staff List
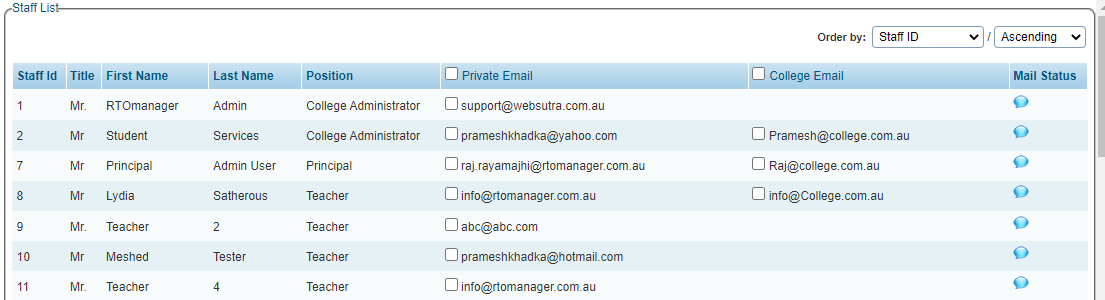
4. The search result Staff list of will be shown on the bottom of the page. The list can be ordered by different criteria.
5. Select the required Staff recipients for the email by ticking the check-box
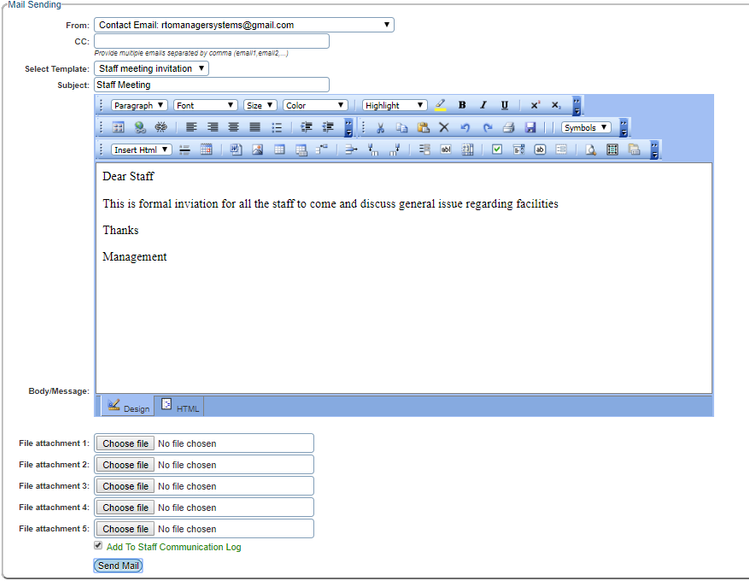
6. Select From email address
7. Enter optional CC email addresses - this can be multiple emails separated by comma (email1,email2,...)
8. Select a Template or enter the required Subject and Body Message
9. Optionally attach any Files
10. Select option to add the email as an entry to each Staff Communication Log
11. Click Send Mail
Email Send Status
Successful mail delivery will be displayed by green ![]() icon and a status message
icon and a status message
Preventing email sent from Meshed System being considered as spam or treated as Junk email
To assist with preventing email sent from Meshed Student Management System from being considered as spam and treated as Junk email, our Network Administrator has suggested adding or modifying an SPF, DKIM and DMARC record in your DNS server. Further information see Ensuring Email Delivery (Security): SPF, DKIM, and DMARC Implementation
SMS Notification (Optional Module)
Users can send bulk SMS to selected Students or Staff. SMS Templates can be used when communicating with users via the SMS Notification functions.
The Meshed Platform has the capacity to integrate SMS capability from a third party provider to send SMS messages. This integration is required to use the SMS Notification. More information on the SMS Integration can be found on the SMS Functionality Integration page.
To send bulk SMS to Students or Staff navigate to Communication > SMS Notification
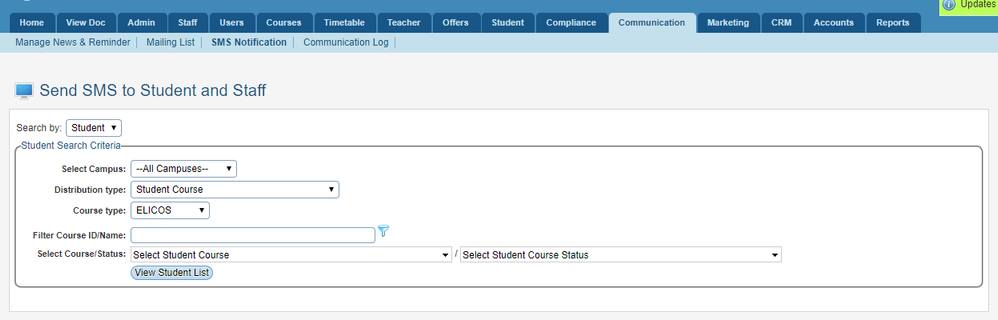
Send SMS to Student
To send bulk SMS to selected Students:
- Select Student in the Search By drop-down menu
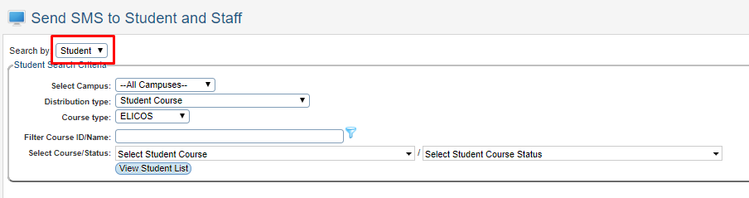
2. Select required options in the Student Search Criteria fields - Campus, Distribution Type, Course Type, Course Id/Name, Course/Status
3. Click View Student List
4. The search result Student list of will be shown on the bottom of the page
5. Select the required Student recipients for the SMS by ticking the check-box
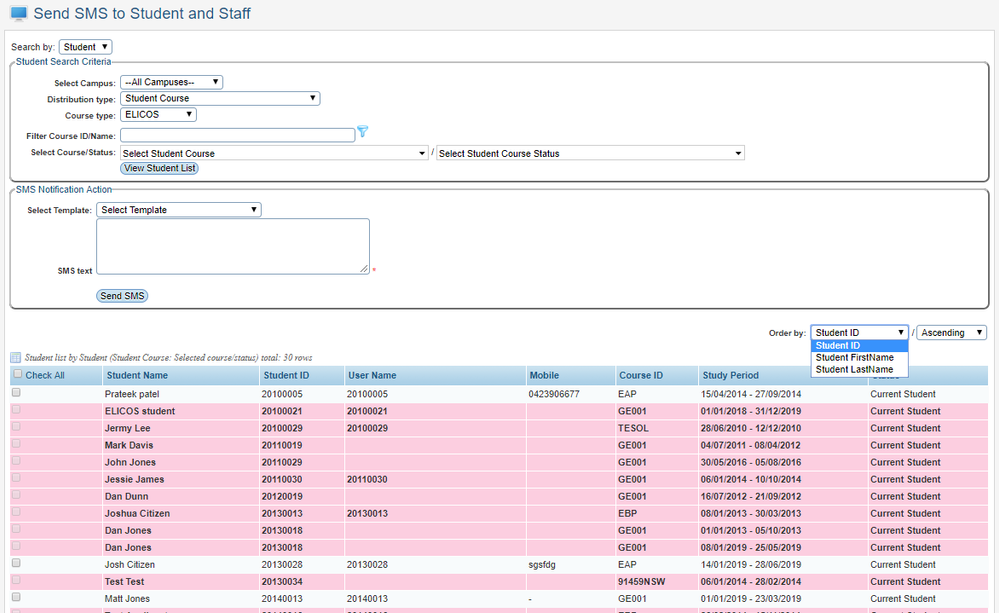
Mobile Number
For easier identification, Students without a Mobile Number are shown in the list as a different colour. These Students cannot be selected as recipients for the SMS.
6. Select a Template or enter the required text
7. Click Send SMS

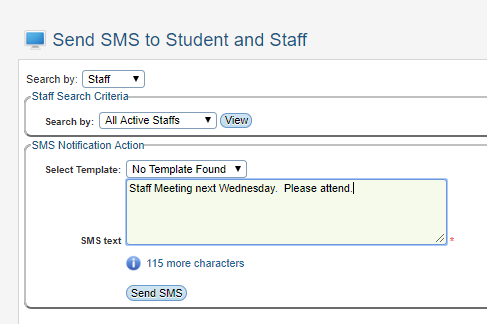
Send SMS to Staff
To send bulk SMS to selected Staff:
- Select Staff in the Search By drop-down menu
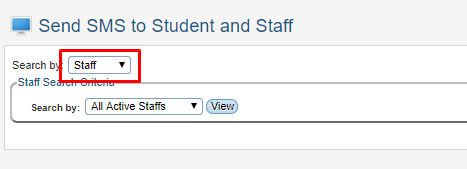
2. Select required option in the Staff Search Criteria drop-down - All Active Staff or All Active Teachers

3. Click View
4. The search result Staff list of will be shown on the bottom of the page
5. Select the required Staff recipients for the SMS by ticking the check-box
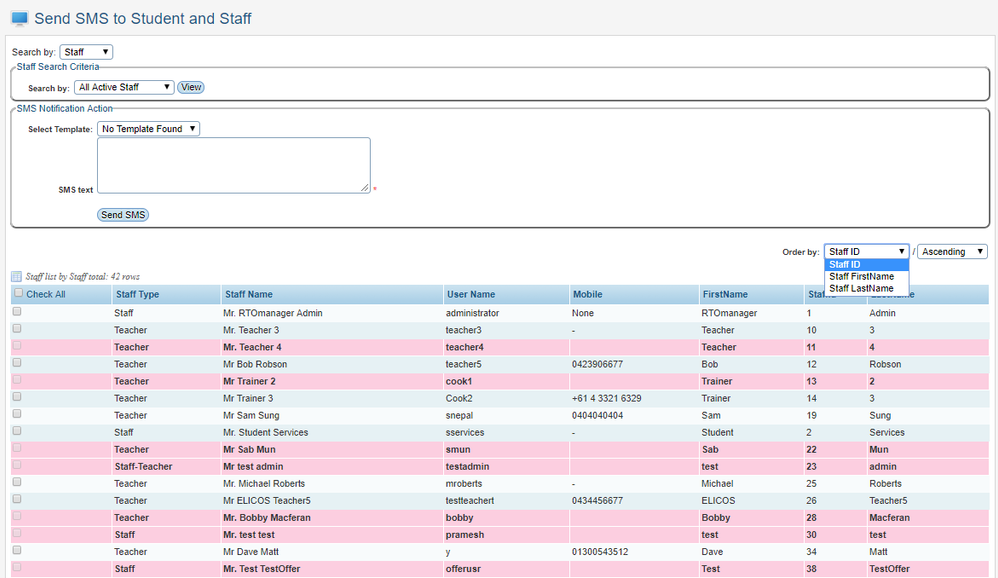
Mobile Number
For easier identification, Staff without a Mobile Number are shown in the list as a different colour. These Staff cannot be selected as recipients for the SMS.
6. Select a Template or enter the required text
7. Click Send SMS
Survey Management
Create online survey forms and questionnaires to assist with evaluating training delivery, course content, procedures, training methods, trainer performance etc. to obtain feedback from Students.
This functionality is described on the Survey Management Module page.
Communication Log - Bulk
Users can record entries to the communication log/diary for multiple Students without having to go use the individual Student Profile pages.
To bulk record entries to the communication log/diary for Students navigate to Communication > Communication Log
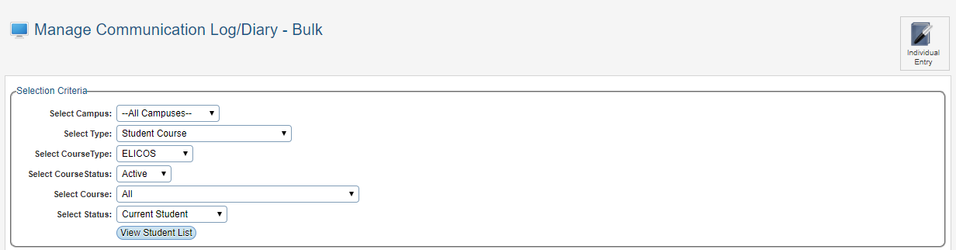
- Select required options in the Selection Criteria fields - Campus, Type, Course Status, Course, Status
- Click View Student List
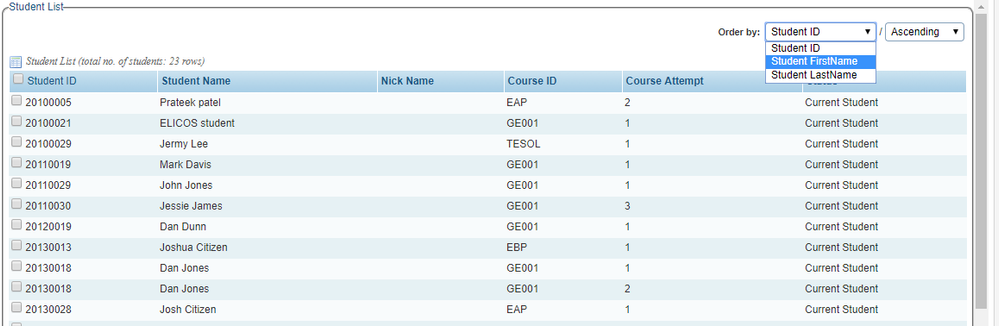
- The search result Student list of will be shown on the bottom of the page. The list can be ordered by different criteria.
- Select the required Student recipients for the Communication Log entry by ticking the check-box
- Enter the Subject, Comments, Category/Type,and Status etc.
- Attache any files required
- Click Add to Student Communication Log to record the log.
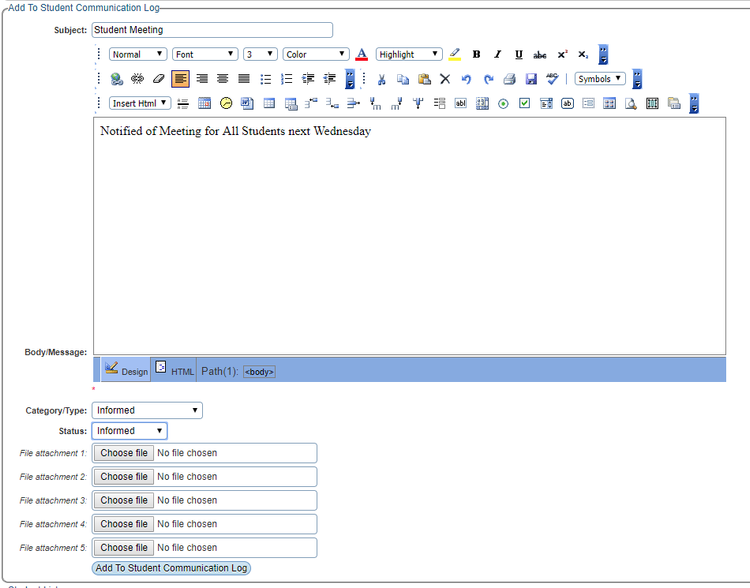
- The success message will be displayed as shown below

Communication Log - Individual
Users can record entries to the communication log/diary for a Student without having to go use the Student Profile page.
To record entries to the communication log/diary for a Student navigate to Communication > Communication Log
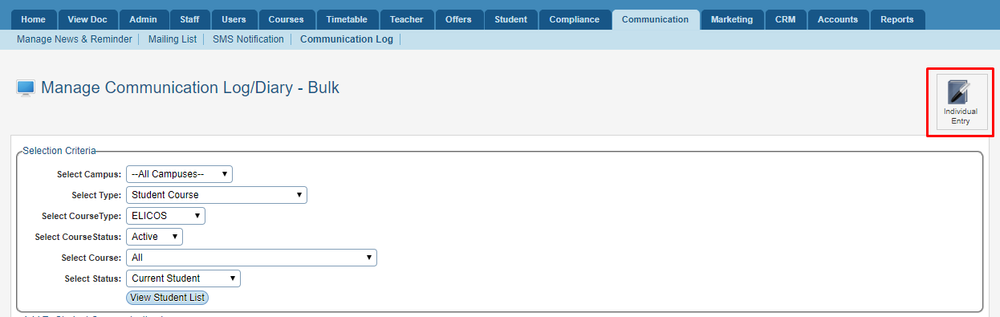
To record an entry record in the communication log/diary for a Student:
- Click the Individual Entry Action Icon
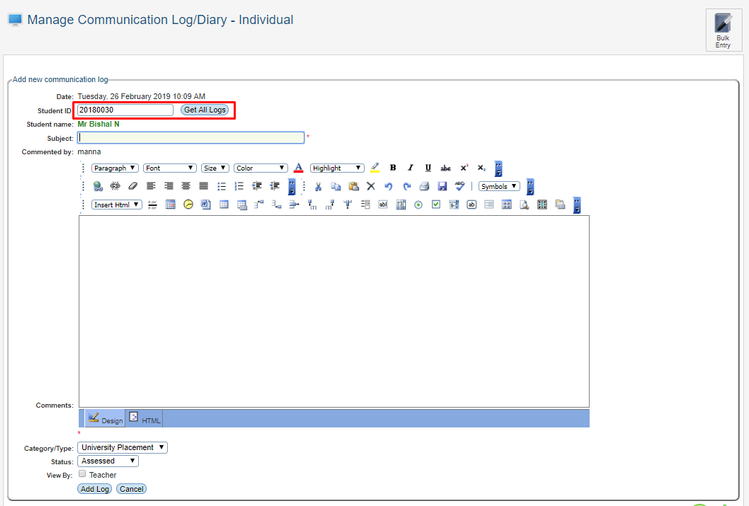
- Enter the student ID of the student for the diary entry to be recorded
- Click Get All Logs
- Enter the Subject, Comments, Category/Type, and Status etc.
- Click Add Log to record the log.
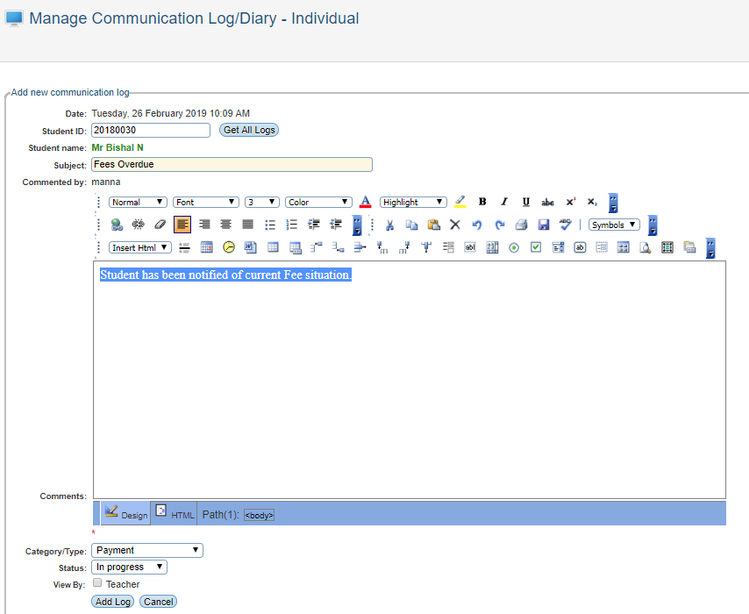
- The record will be added as shown below

