Admissions and Applications Management
- Andrew Aylesbury (Deactivated)
Introduction
This module focuses on the Student life cycle from the Application stage, to Offer Management, Orientation, Enrolment, and Academic progress to Graduation.
Before the Student applies for a Course, intake dates need to be set up so that Applicants can select dates for when they will commence their study.
Course Intake Setup
Intake dates refer to the specific dates on which an education provider admits new students for enrolment in its courses. These intake dates are typically set in advance and may occur multiple times throughout the year. These dates are important because they indicate when students can begin the process of applying for admission, submitting their application, and enrolling for courses.
This menu allows you to setup and manage intake dates in the Meshed Platform for the courses.
Once setup done, intake dates will appear during the 5-step application process for the courses selected. This is also linked with offer letter and student course.
To set up intake dates for a particular Course or multiple courses, follow the instructions below:
Click Course > Intake dates.
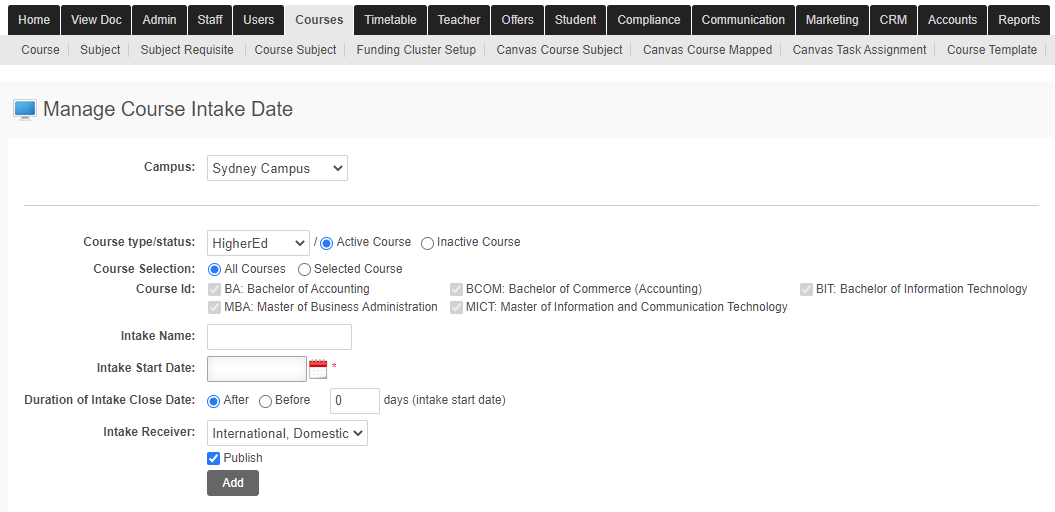
From the drop down menu, select Campus where the Course is available. This is only visible if Multi Campus Optional module is enabled.
Select Course Type status e.g. HigherEd, Short Course from the drop-down menu.
Select Course selection e.g. All Courses or Selected Course. If Selected Course, tick the box of the Course applicable.
Enter Intake Name (this is a free text field)
Click the Calendar icon to select Intake Start Date.
For Duration before or after the Intake start date, select Before or After and enter the number of days. This will ensure the intake will appear in Public Portal and Agent Portal until the correct date
Select Intake Receiver e.g. International Students, domestic Students or both.
Remember to tick the Publish tick box  to ensure that this information will be published within the system in Public Portal and Agent Portal.
Click Add to save.
The Intake list can be viewed as shown below.
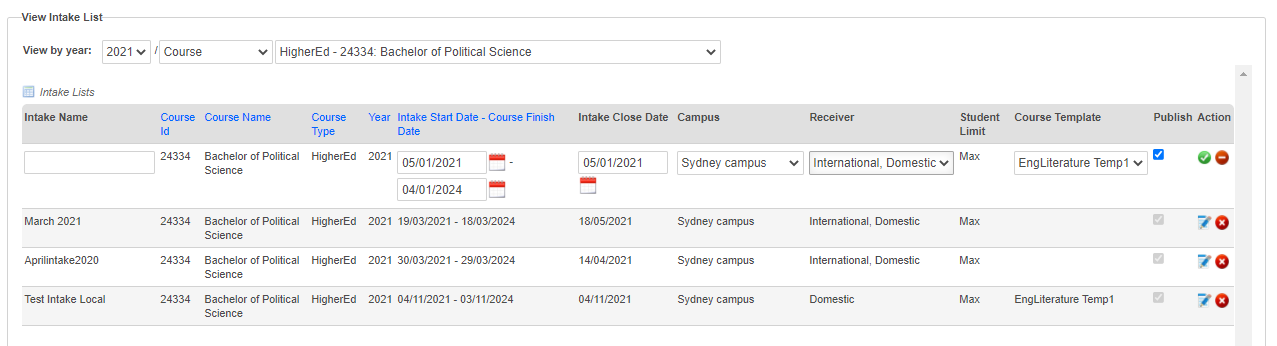
- To delete the existing intake date Course information, click delete icon
 .
. To edit, click the edit icon
 . As per the screenshot below, this page allows you to edit current Intake name, Intake start date, Census date, Campus and Course template (if applicable).
Click the green icon
 to save recent update.
Student Limit
The Intake List displays information for the Student Limit which is used for the Short Course type of Course . The default value for this for other types of Courses is Max.
Apply Online by Admin
This menu allows you to complete and submit a Student Application. Course Online application can be made by Students (via Public Portal), Agents (via Agent Portal), or by Student Services or Admissions officer (via Apply online by Admin).
To apply online by Admin, follow the instructions below:
Click Offers > Apply Online by Admin.
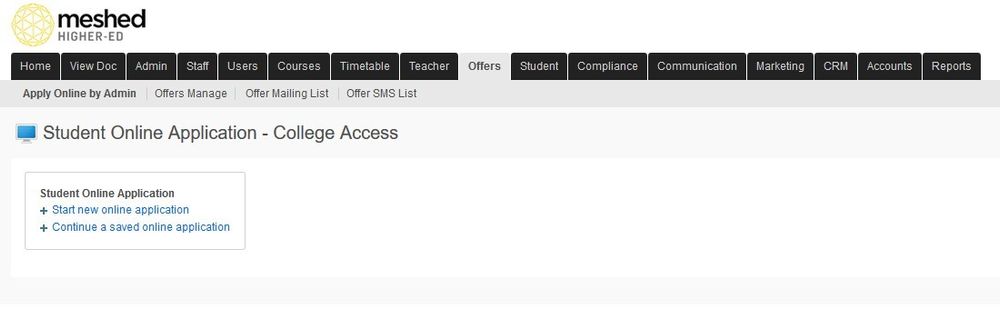
Click Start New application. The page will require you to complete the multi-step student application process.
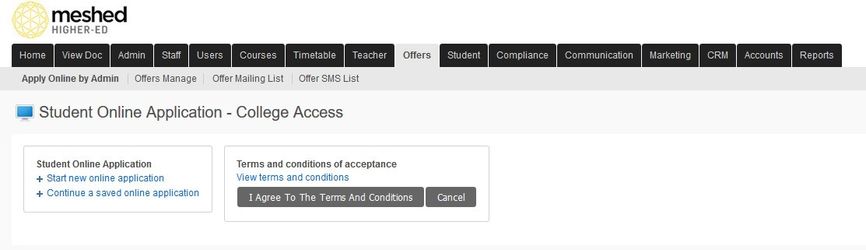
You will need to accept the terms and conditions for the system to allow you to proceed to the next page. Terms and conditions that appears here can be uploaded to this section (Admin > Manage College Materials > TermsandConditions (search for the folder link) > Student Apply (go within this folder) and upload the PDF file.
Applicant and Student Duplicate Check
The System has duplicate check functionality which applies to:
- Online Application entry process
- Admin Application entry Process
- Modification of an Application during the Offer Management processes
- Modification of a Student profile during Student Management processes.
Duplicate check is performed using the following criteria:
- First Name
- Last Name
- DOB
- Nationality and Passport combination
This System will alert the User when a potential duplicate is detected. This will assist with preventing duplication of Students and Applicants in the System.
Offers Manage
This menu allows you to review, manage and process Applications lodged online. To manage this process, follow the instructions below:
Click Offers > Offers Manage.
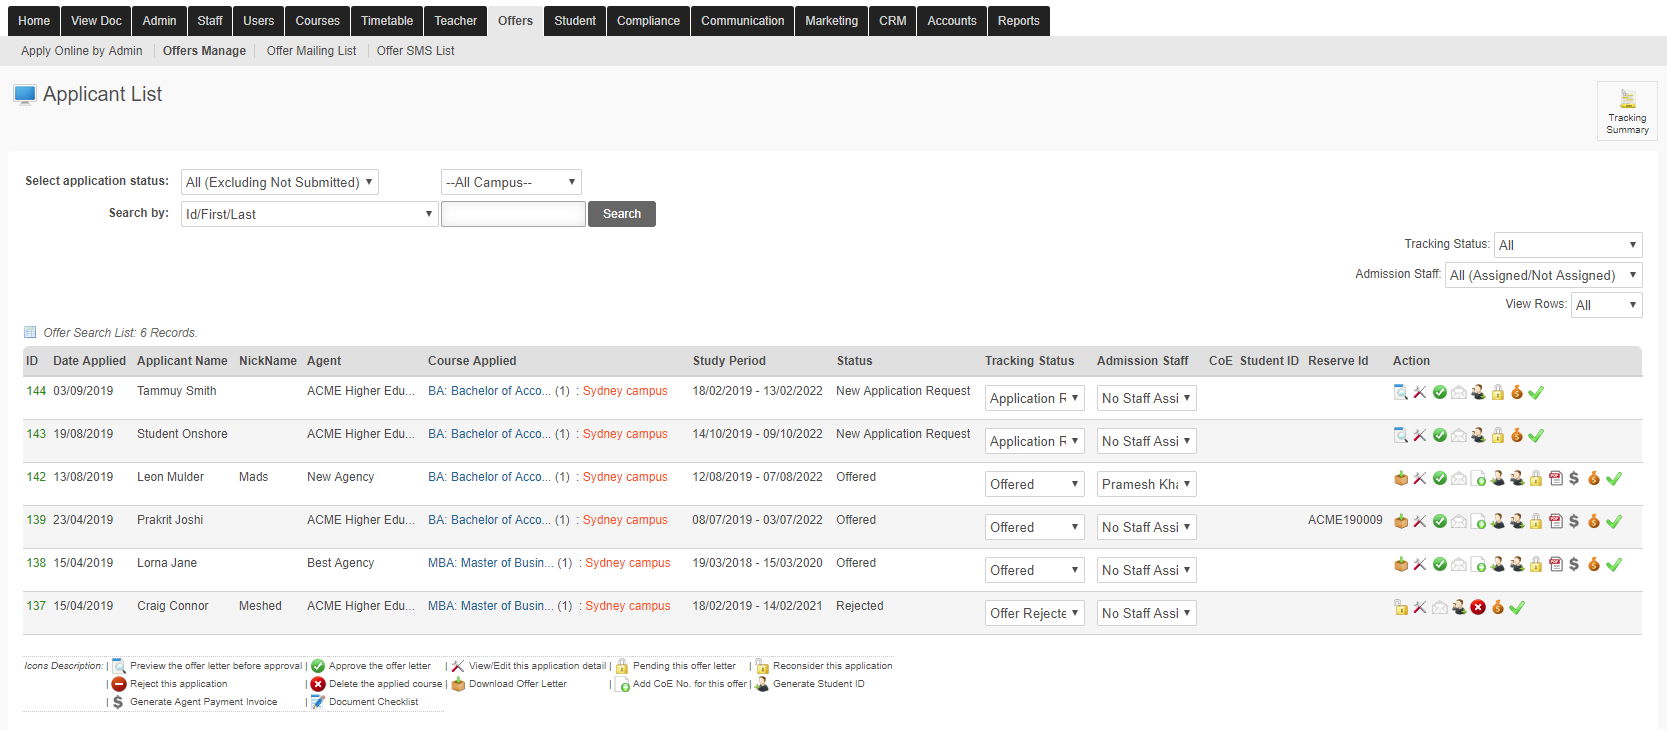
- To manage the Application and Offer, use the Action Icons as outlined below
Icon | Function |
|---|---|
| Preview the Offer Letter before approval |
| View and edit application details |
| Approve or Re-approve the Offer |
| Send an email to the Applicant |
| Reserve Student ID |
| Pend the Application
|
Reject the Application
| |
Delete the Application
| |
Re-consider the Application
| |
| View and edit fee schedule |
| Offer Checklist |
| Download the Offer Letter |
| Record CoE Information |
| Generate and download the Student Invoice |
| Generate and download the Agent Invoice |
| Generate Student ID to convert the Applicant to a Student |
Note: For more information about the Offer process workflow, see the Admission Process Guide.
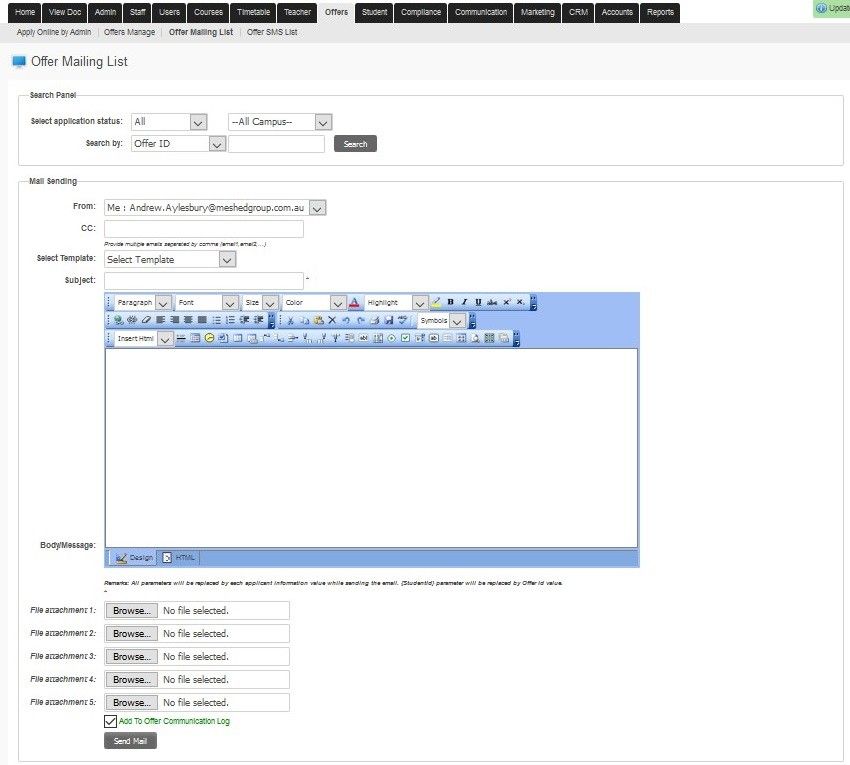
Offer Mailing List
This tab allows you to send bulk emails to offered Students who are still in the process of their Application. This helps to contact the pending Applications and follow up.
To send Bulk Offer emails, follow the instructions below:
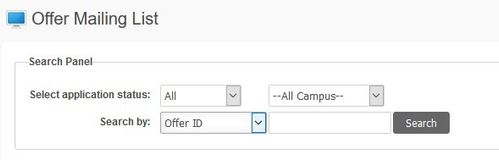
Click Offers > Offer Mailing List.
You can filter your search by Selecting Application Status and Campus by clicking the drop down menus.
Click Search button.
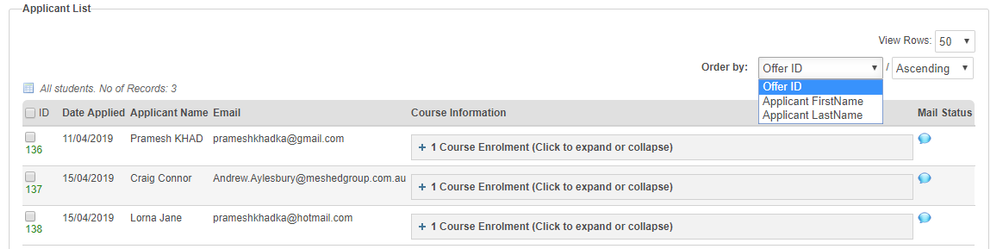
Applicant list will appear at the bottom of the page. The list can be ordered by different criteria.
Tick the box of the relevant students as shown below.
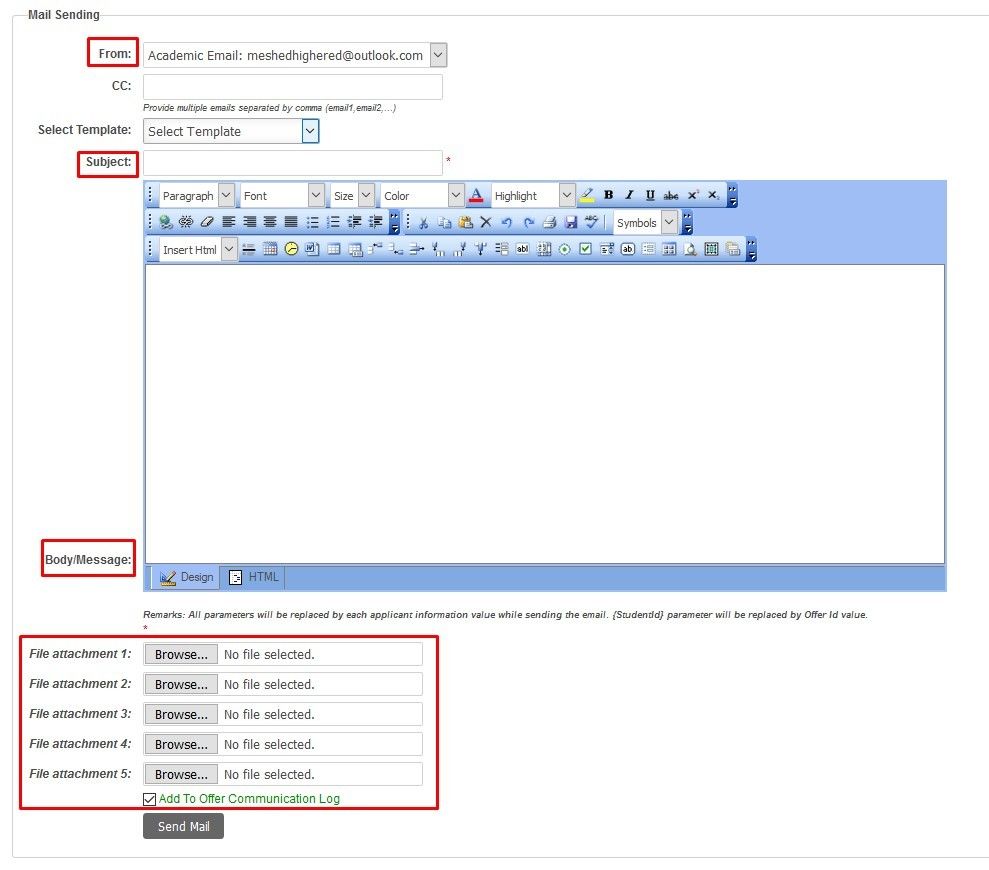
- Prepare the email to be sent by filling in relevant information and attach documents (if any).
Click Send Mail.
Preventing email sent from Meshed System being considered as spam or treated as Junk email
To assist with preventing email sent from Meshed Student Management System from being considered as spam and treated as Junk email, our Network Administrator has suggested adding or modifying an SPF record in your DNS server. Further information see Ensuring Email Delivery
Manage Orientation
Student orientation is a program or event that is designed to welcome new students to an education provider and help them become familiar with the academic and social aspects of campus life. The orientation program typically takes place before the start of the academic term or school year, and may consist of a series of events or activities that are designed to provide students with a comprehensive introduction to their new environment. Student orientation plays an important role in helping new students feel comfortable and prepared for their studies.
In addition to academic information, student orientation often includes social and cultural events that help new students become familiar with campus life and meet their peers. These events may include campus tours, social gatherings, and other activities that promote interaction and community building among students. By providing a comprehensive introduction to the education provider and its culture, student orientation can help new students navigate the challenges of the academic environment and begin their studies with confidence.
During student orientation for overseas students, international students are typically provided with information and resources to help them navigate the challenges of studying in a new country. They may receive guidance on immigration regulations, health insurance, and financial aid. They may also receive information on how to adapt to the cultural norms and values of the host country. By providing essential information and resources, along with social and cultural support, student orientation for overseas students can help new international students integrate into their new environment and begin their studies with confidence.
This menu allows you to manage Student orientation in the Meshed Platform..
The Manage Orientation functionality also allows for recording the Student has attended and for the confirmation that the Student has commenced the Course. This confirmation will change the Student Course Status to 'Current' Student'.
To use this function, follow the instructions below:
- Click Compliance > Manage Orientation.
- To filter the search, click drop-down menu to select Campus, Course Type, Course, year, Select date and Student status e.g. current student/enrolled.
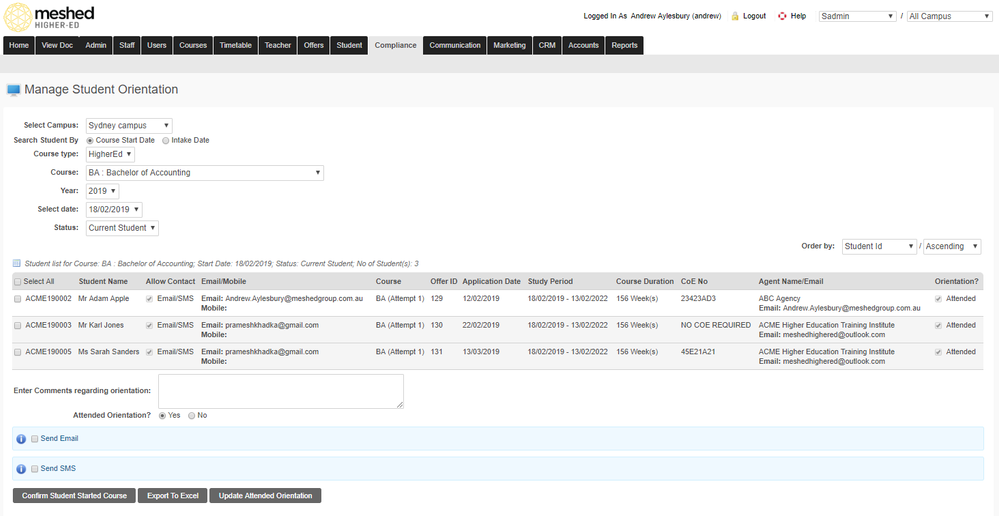
List of Students for the Course will appear on the page. The list can be ordered by different criteria.
Tick the box to Select Students scheduled for Orientation.
Tick the box to record if Student attended orientation – select Yes or No.
Click Update Attended Orientation to Save.
- Confirm the student started course radio button:
- Staff after recording the students attended the orientation, they can select this button.
- System will automatically convert the students’ courses with “Enrolled” to “Current student” status.
Note: This button is available for selection only if the selected student’s course status is Enrolled. For all the other student course statuses, this button is disabled.
A message will pop to confirm the update. ![]()
Tip: You can track the students who did not attend orientation by generating Orientation Reports.
You can send the orientation information via Email or SMS.
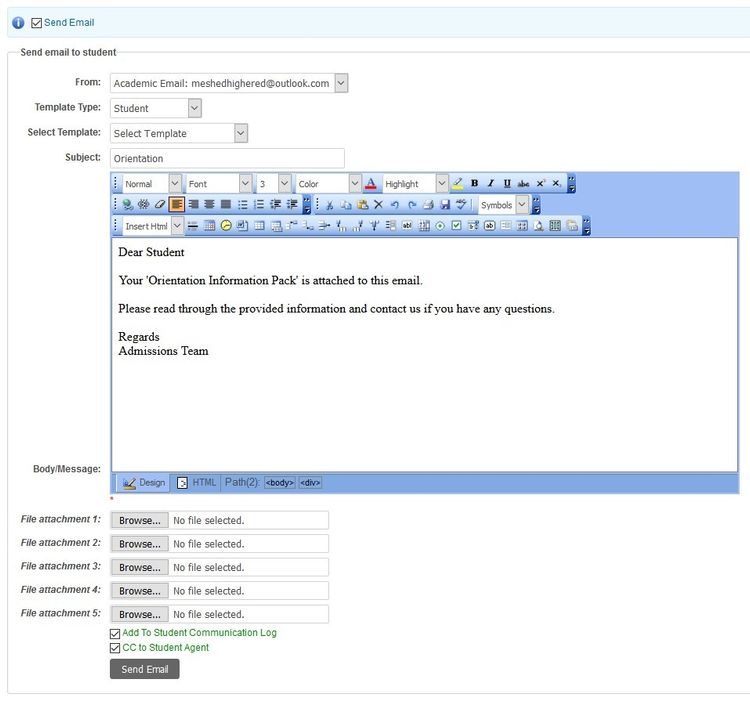
Tick the box that applies. For email preference, tick the box and an email template will appear at the bottom of the page as shown below:
Select Template type e.g. Student, Student Course and template (if applicable).
Type in Subject title, body of the letter (free type), choose file to attach and click Send Email.

To send message via Short messaging system (SMS/ text), tick Send SMS box.
Select predefined template from the drop down menu (if any).
Type in SMS text message on the field provided. Field allows you to type up to 160 characters.
-
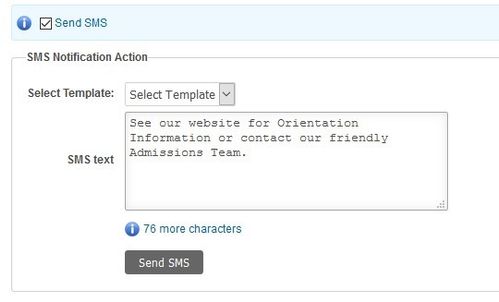
Click Send SMS to send.
Click Update Attended Orientation to save update. System will confirm changes as shown below:
-

SMS Integration (Optional Module)
Meshed Higher-Ed has the capacity to integrate SMS capability from a third party provider to send bulk and/or individual text/SMS messages. This integration is required to enable the Send SMS function. More information on the SMS Integration can be found on the SMS Functionality Integration page.
Preventing email sent from Meshed System being considered as spam or treated as Junk email
To assist with preventing email sent from Meshed Student Management System from being considered as spam and treated as Junk email, our Network Administrator has suggested adding or modifying an SPF record in your DNS server. Further information see Ensuring Email Delivery
Using the Send email facility of Orientation process, you can send Pre-departure information kit to the Students or any information that may be valuable to communicate.
