Student Portal Module
- Andrew Aylesbury (Deactivated)
Introduction
The Student portal allows you to log in to your Provider management system. This allows you to view your own Timetable, Payments, Academic results and to download materials. This portal can also be used as a platform for communication between yourself (Student), Teachers and Administration.
When you enrol in a Course, your provider administrator will create your user account which will give you to access this portal. Once your account is created, the system will send you a notification to advise you of your username and password.
On your first log in, the system will prompt you to change your password.
User Login
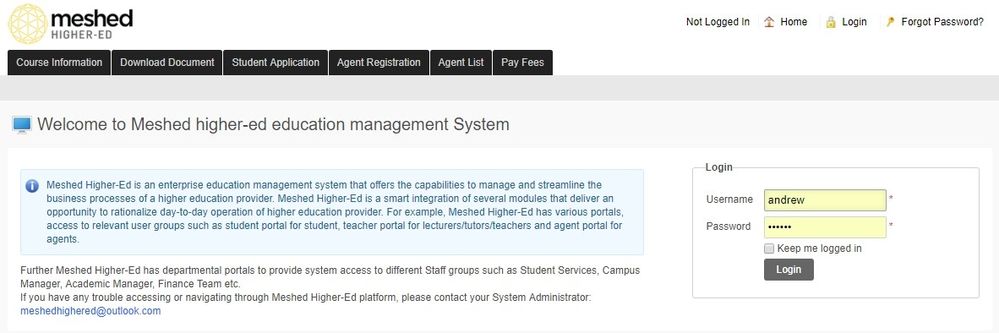
To log in to the Student Portal, you will see the following user friendly page which will ask you to enter your username and password to log in as an authorised user. Follow the instructions below:
- In your web browser, enter the system's URL account e.g. https://yourprovider.meshed.com.au
- Enter your username and password sent to you via email
- Click Login.
Home page
Home page is the initial screen you see after you log in. From here you can navigate to any page by clicking on any menu.
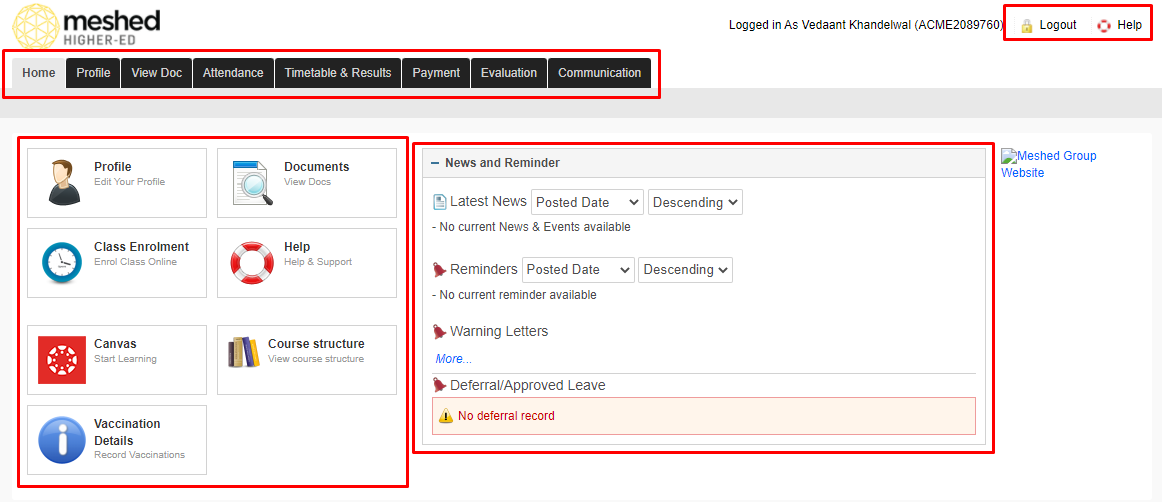
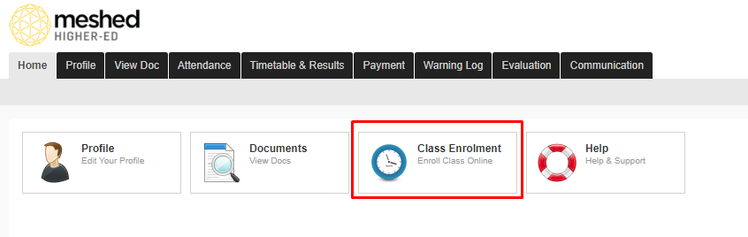
- On the top of the page, there are 9 main tabs (menu) which are: Home, Profile, View Doc, Attendance, Timetable & Results, Payment, Warning Log, Evaluation, and Communication.
- The icons on the left hand side show their function and are easily accessible as the user does not have to locate them within the menu; they are referred to as the Quick Access Icons.
- On the middle section of the page are News & Reminders which includes latest announcements, reminders, warning letters (if any) and deferral/leave approval.
On the top right hand side, you will find your login user name, your Help icon
 if you need assistance in navigating the system and Logout icon
  to exit the system.
 Due to specific individual Education Providers configuration the actual Menu Tabs and other Icons displayed in the Student Portal may differ from that shown here in the User Guide.
Profile
This tab allows you to edit your profile, and to change password.
To manage this function, follow the instructions below:
Changing your password
To change your password, follow the instructions below:
- Click Profile > Change password.
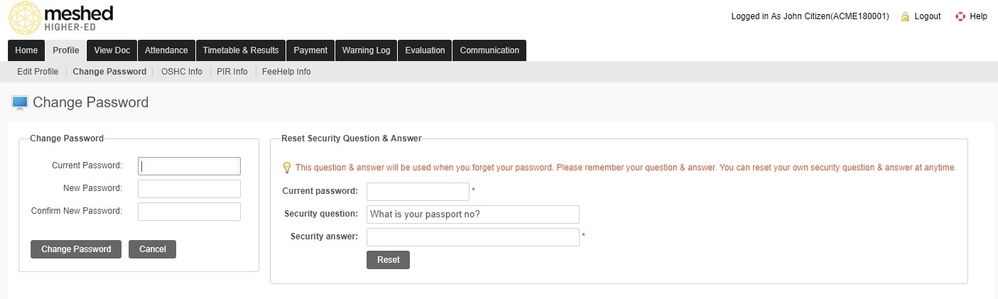
- Enter your current password and the new password then click Change Password.
- To reset your Security Question and answer, type in your current password and your security question and answer and
- Click Reset
Note: If you have entered your password incorrectly five (5) times, your account will be locked automatically. You may need your provider IT support to unlock your account. When this is done, you will receive an auto generated email providing you with a temporary password. The system will prompt you to change your password when you login.
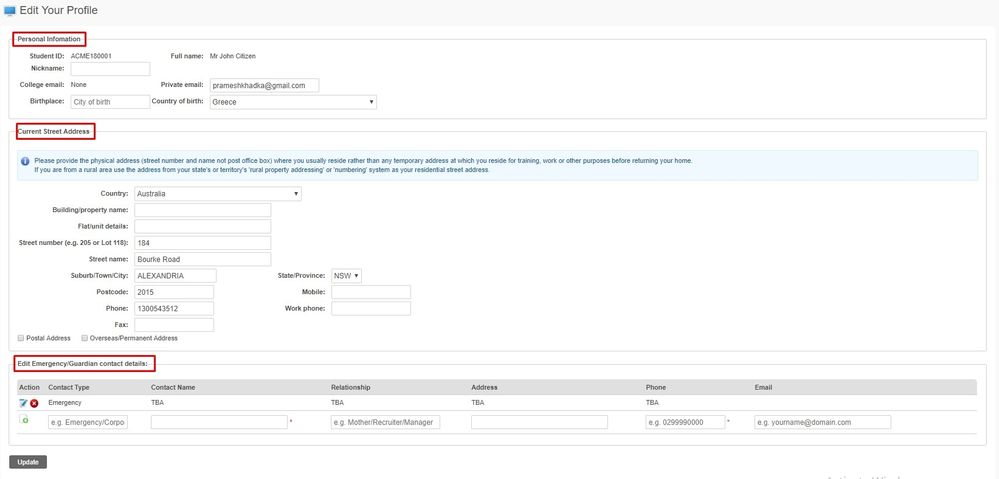
Edit profile
This allows you to edit/ change your profile e.g. Personal information, Current address and emergency contact details.
To manage this function, follow the instructions below:
- Click Profile > Edit Profile
- Enter relevant information as required
- Click Update to save changes.
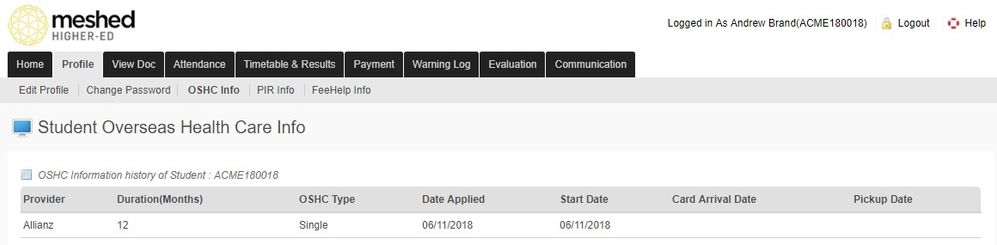
OSHC (Overseas Student Health Cover) Info
This function allows you to view your Overseas Student Health Cover (OSHC) information if you purchased your cover via the Provider.
To view the information, click Profile > OSHC Info.
OSHC information such as name of provider, health cover duration, date applied and insurance start date.
This is also where you will see Card arrival date - when the provider sends your OSHC card and when it's available for pick up.
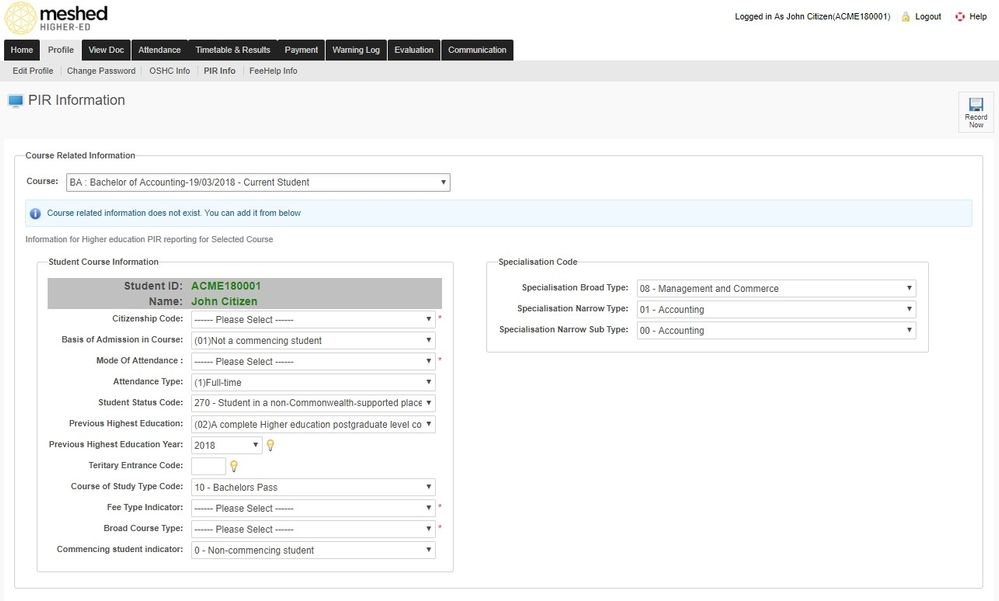
PIR Information
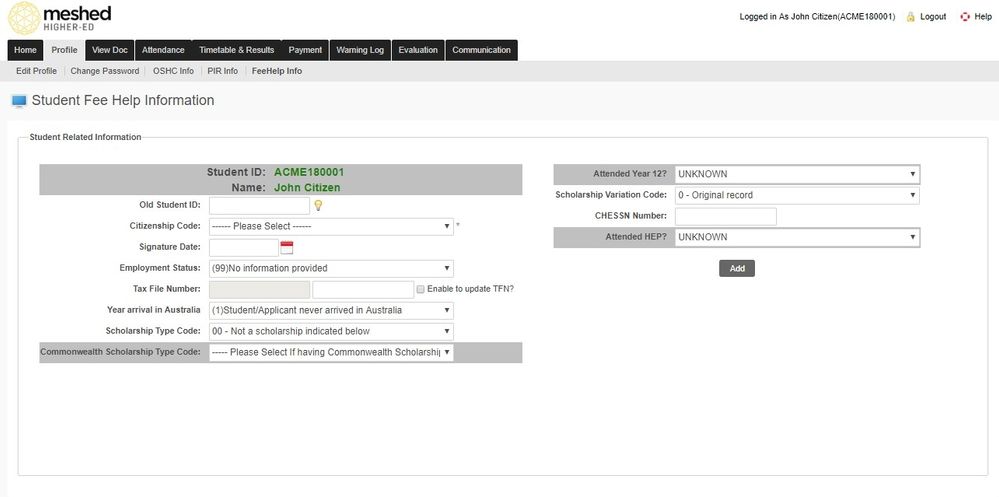
FEE-HELP Information
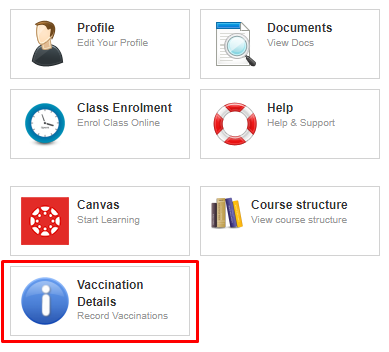
Vaccination Details
Capture and manage your Vaccination information:
- Create and manage multiple Vaccination document records.
- Create and manage multiple Vaccination details (doses) for each Vaccination document record.
To record Vaccination Details follow the steps below:
- Click the Vaccination Details Icon on the homepage
- Multiple Vaccination Documents can be recorded.
- Enter the Vaccination Document information which includes Vaccination Type, Document Upload, Type, Number, Issue date, Expiry Date, Issued By and Issuing Country.
- Click Save.
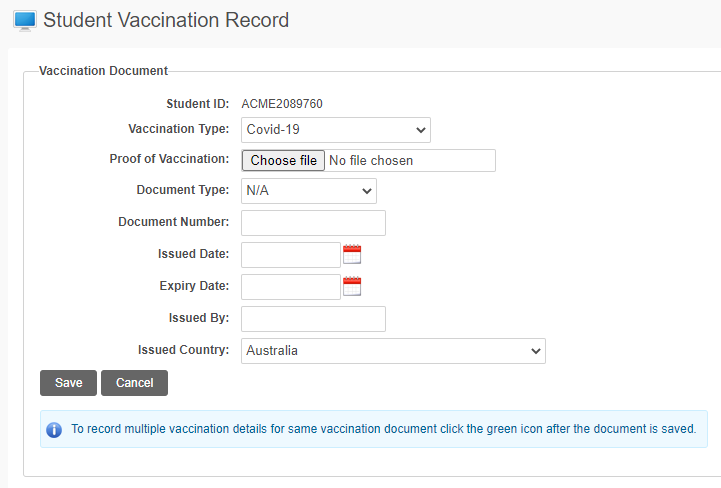
- The Vaccination Document will be shown in the lower grid

- The Vaccination Document(s) recorded by Staff or using the Student Portal can be managed using the Icons.
 Modify Icon to manage the information
 Preview Icon to display the uploaded document
 Delete Icon to delete the Vaccination Document
 Add additional Vaccination details (e.g. doses) for each Vaccination document. Multiple Vaccination Details can be recorded for each Vaccination document.
To record Vaccination Details follow the steps below:
- Enter the Vaccination Details information which includes Vaccination Date, Brand/Company, and Location.
- Click Add Vaccine.
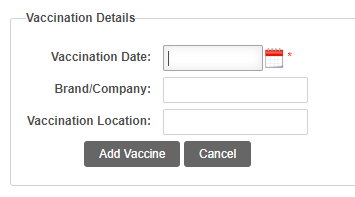
- The Vaccination Details will be shown in the grid.

- A Vaccination Detail recorded by Staff or using the Student Portal can be deleted using the Delete Icon

- A Vaccination Detail recorded by Staff or using the Student Portal can be edited using the Edit Icon

View Doc (Optional Module)
This menu function allows you to view and download various documents. These documents can be Academic Notices, Student handbook, Policies & Procedures etc.
- To search for document, type in the document name
- Click Search Document.
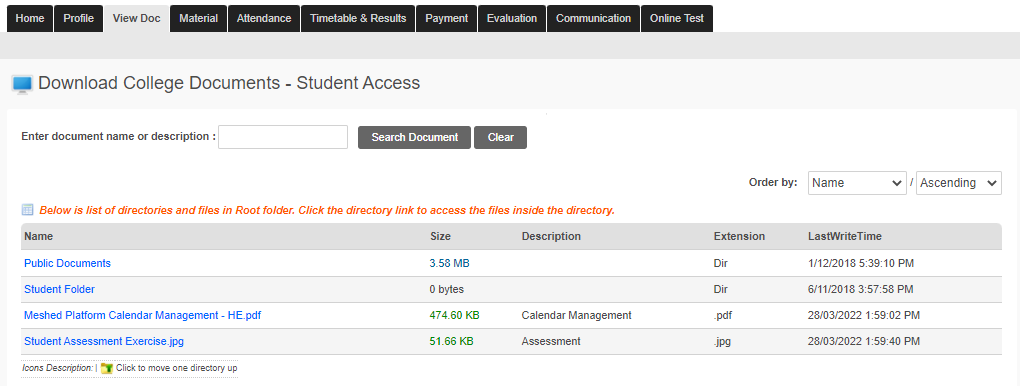
- Available documents will show on the list. Click on the document name to download the file. Note that the file will be in a PDF format.
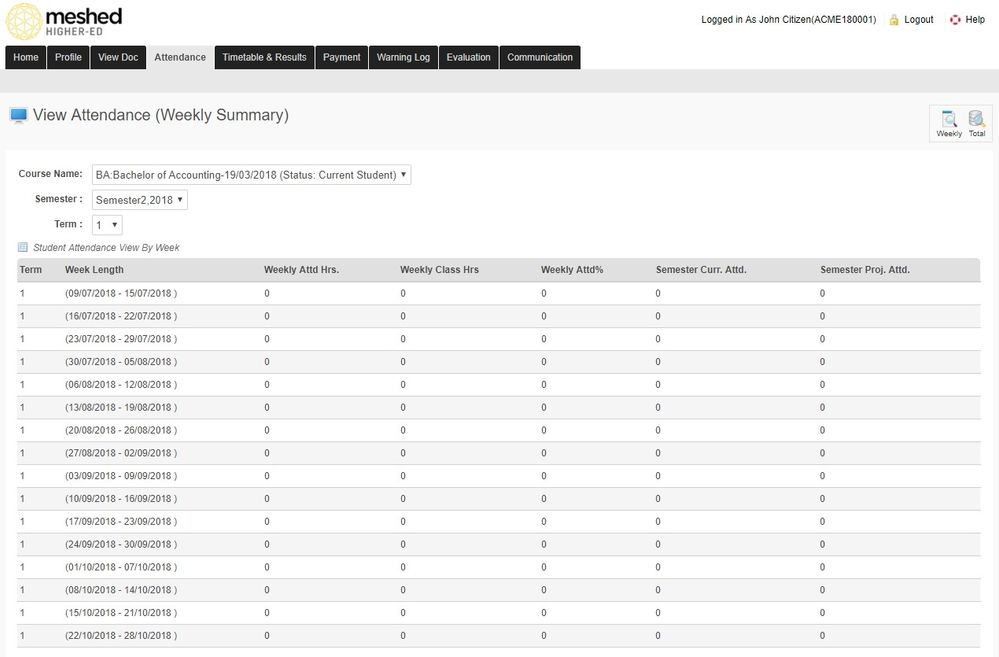
Attendance
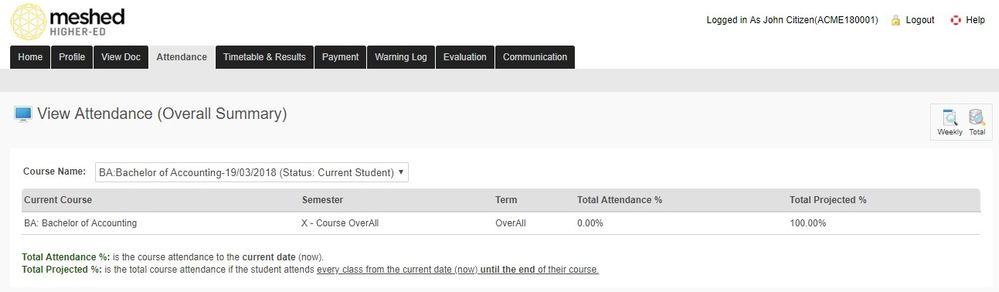
This menu allows you to view your weekly attendance.
Note: Total attendance % is the percentage of the course to the current date (now). Total Projected % is the total course attendance if you attend every class from the current date (now) until the end of your course.
To view your attendance in a weekly format, click the weekly icon ![]() .
.
Timetable & Results
This menu allows you to view your timetable and results once it's made available.
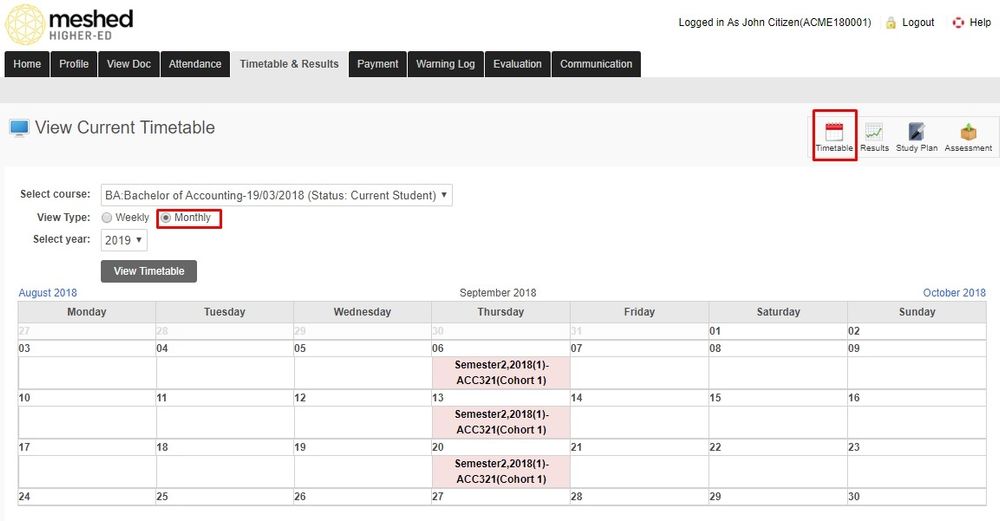
Timetable
This menu allows student to view their timetable either by Monthly (as shown below).
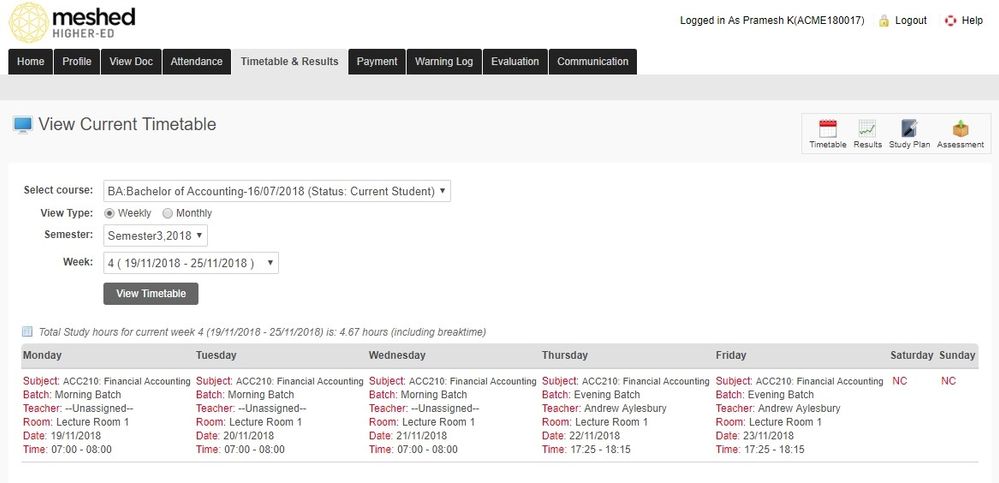
And by Weekly View
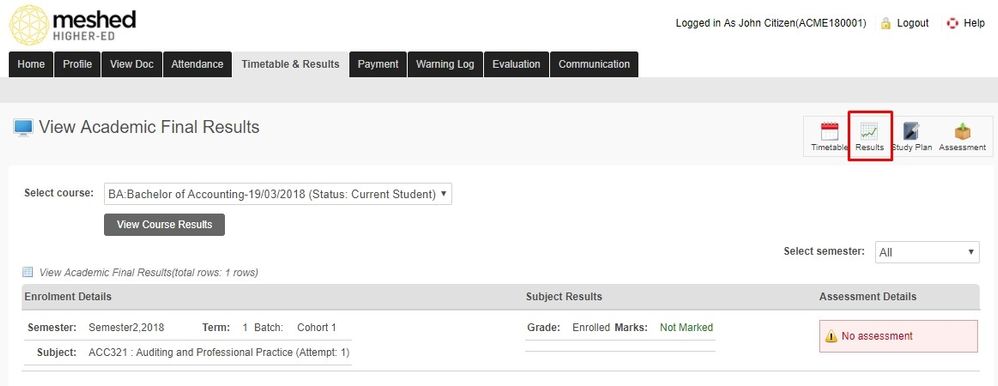
Results
Your academic results can be viewed on this menu. To view, click Timetable & Results > Results.
You can see the subject and assessments results for the courses which you have been enrolled.
Study Plan
This menu allows you to see the list of the Summary of the courses you are enrolled in and its Course Progress Summary
To view your study plan, follow the instructions below:
On your Student portal, click Timetable & Results
Click Study plan icon ![]() located on the right hand side of the page.
located on the right hand side of the page.
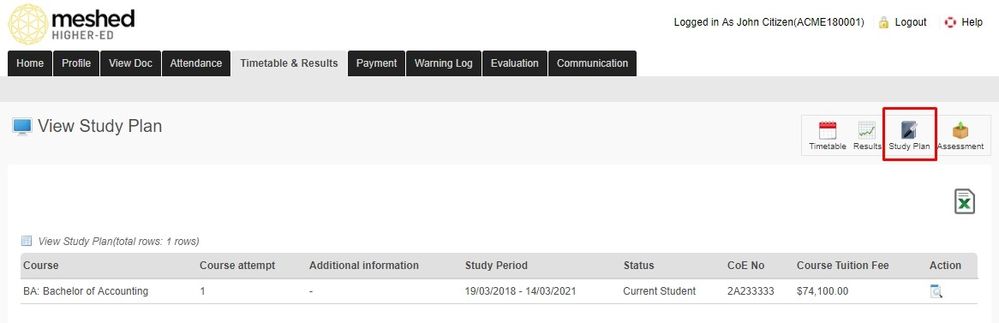
List of your course/s together with information like study period, Status, CoE, Course tuition fee etc.
Click Export icon ![]() if you want to export information Excel format. This is located on the right hand side of the page.
if you want to export information Excel format. This is located on the right hand side of the page.
To view your subject completion status, click the action icon ![]() . Your Course Progress Summary will appear in a pop up screen.
. Your Course Progress Summary will appear in a pop up screen.
Here you will see your List of subjects, activity period, Final outcome and your attendance percentage

Assessment (Optional Module)
You can also upload your online assessments via the Student portal.
To manage this function, follow the instructions below:
- To upload your essays, tests and other assessments, click Assessment icon

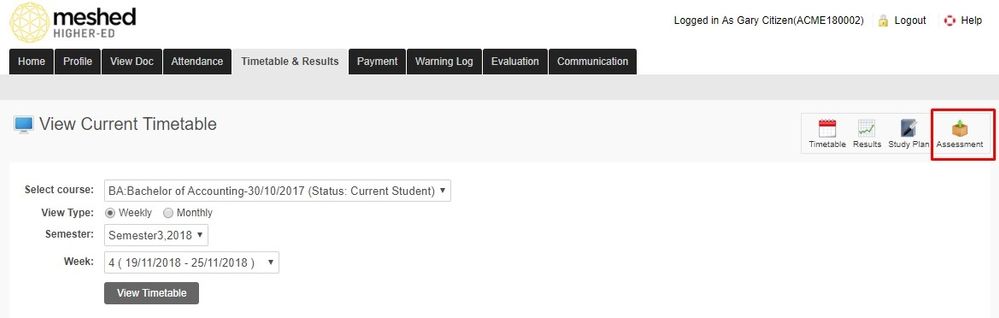
- Page will appear to allow you to submit your assessments. Make sure you select your course and class from the drop down menu and click
 corresponding the assessment.

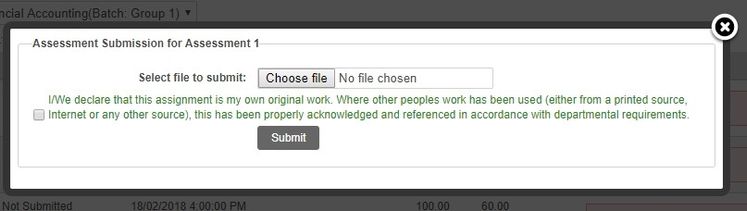
- A pop up page will appear to allow you to select the file to upload. Make sure to tick the box declaring that this assessment is your own personal work (as shown below). Click Submit.
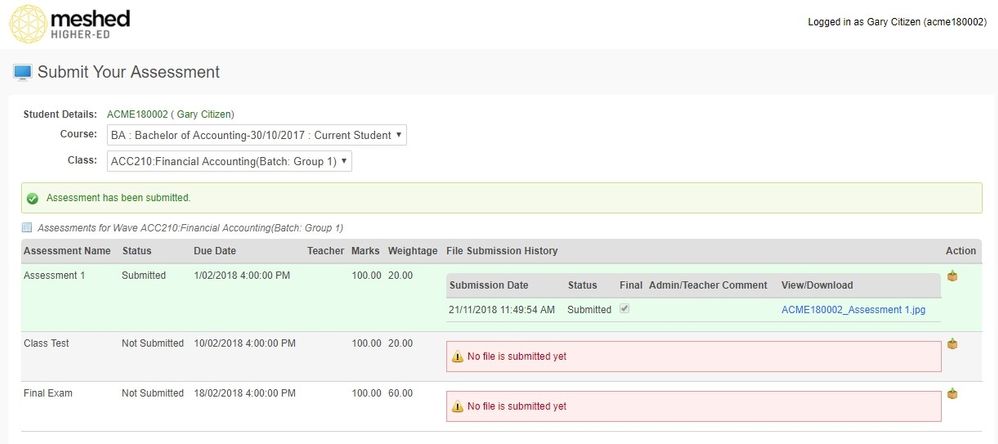
- Once Assessment is submitted, you will be returned to the Submit your Assessment page and you will noticed that your submission has been marked green (as shown below).
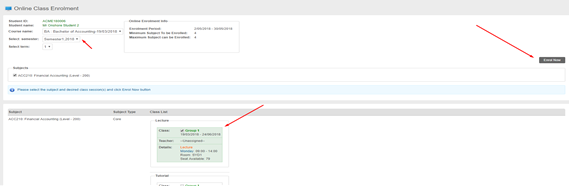
Class Enrolment (Optional Module)
This allows you to enrol into the subject as well and the class session.
- Click the Class Enrolment Icon on the homepage
- Choose required Course/Semester/Subject
- Choose Class Session
- Click Enrol Now
Payment
This menu allows you to view Payment details like fees paid, future tuition fees to be paid, overseas health insurance (OSHC) payments and miscellaneous payments like airport pick up, charges for arranging accommodation etc.
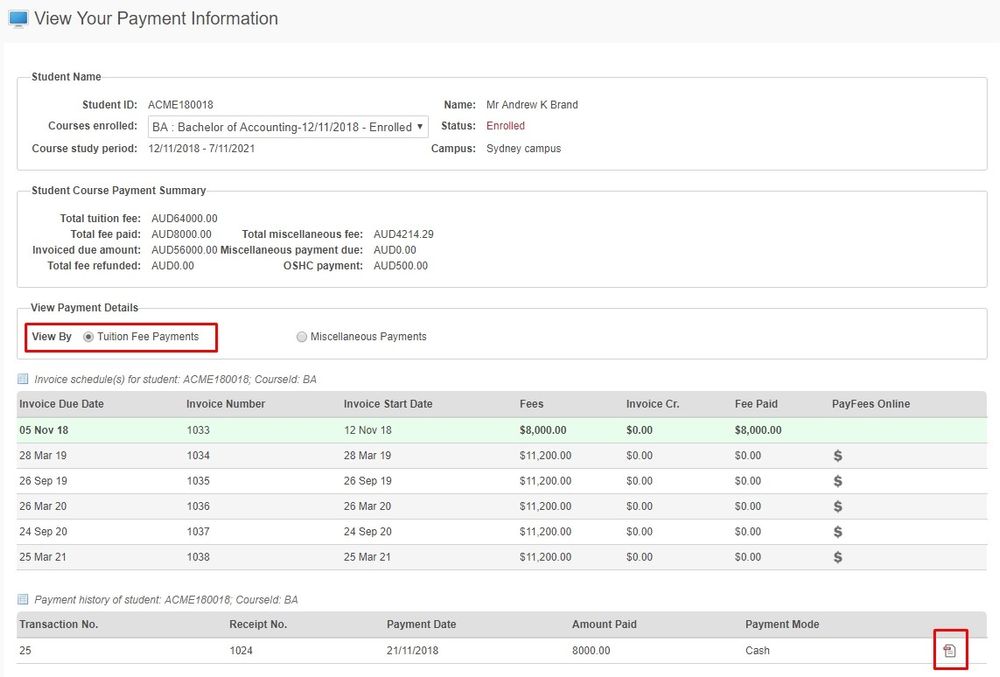
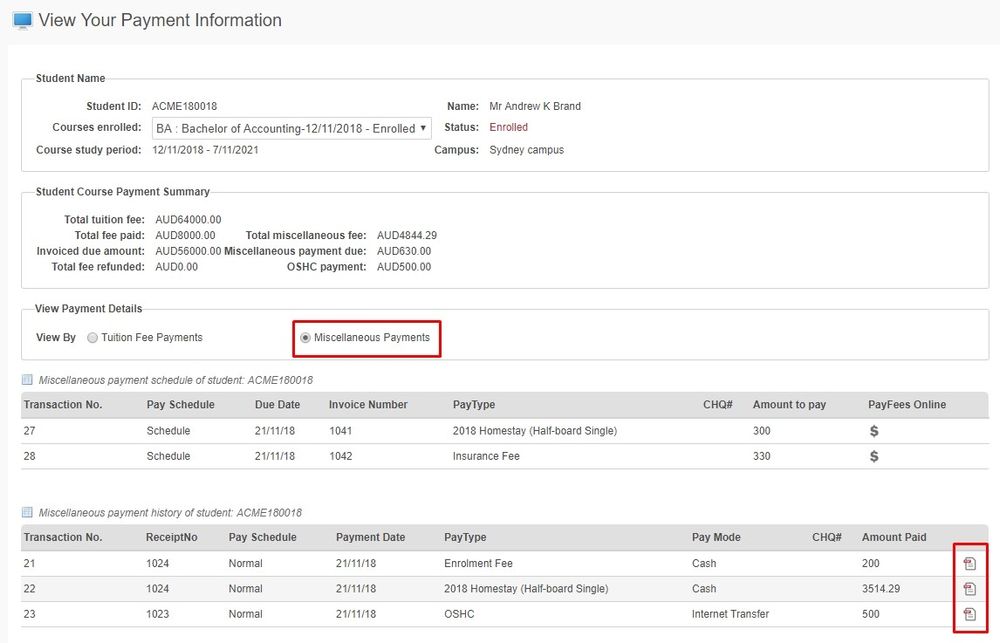
Any paid invoices you will be able to download the receipt.
The PayFees Online shown here relates to functionality that is part of an Optional Module
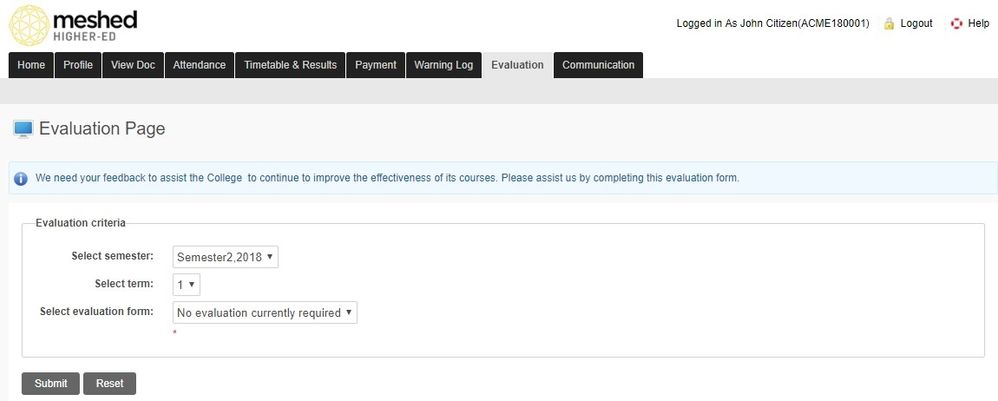
Evaluation (Optional Module)
This menu allows you fill up your own evaluation for the Course, Subject, Teachers or Facilities etc. you are enrolled, which will help to determine whether the Course/Subject offered are effective and are as expected by the Student.
Evaluations are set up and activated for a certain period of time. If evaluation is activated for your login then you can submit using this section. To submit evaluation, follow the instructions below:
- On your Student portal,
- Click Evaluation
- Select the relevant Semester, Term and Evaluation form
- Fill in the form and
- Click Submit.
Communication
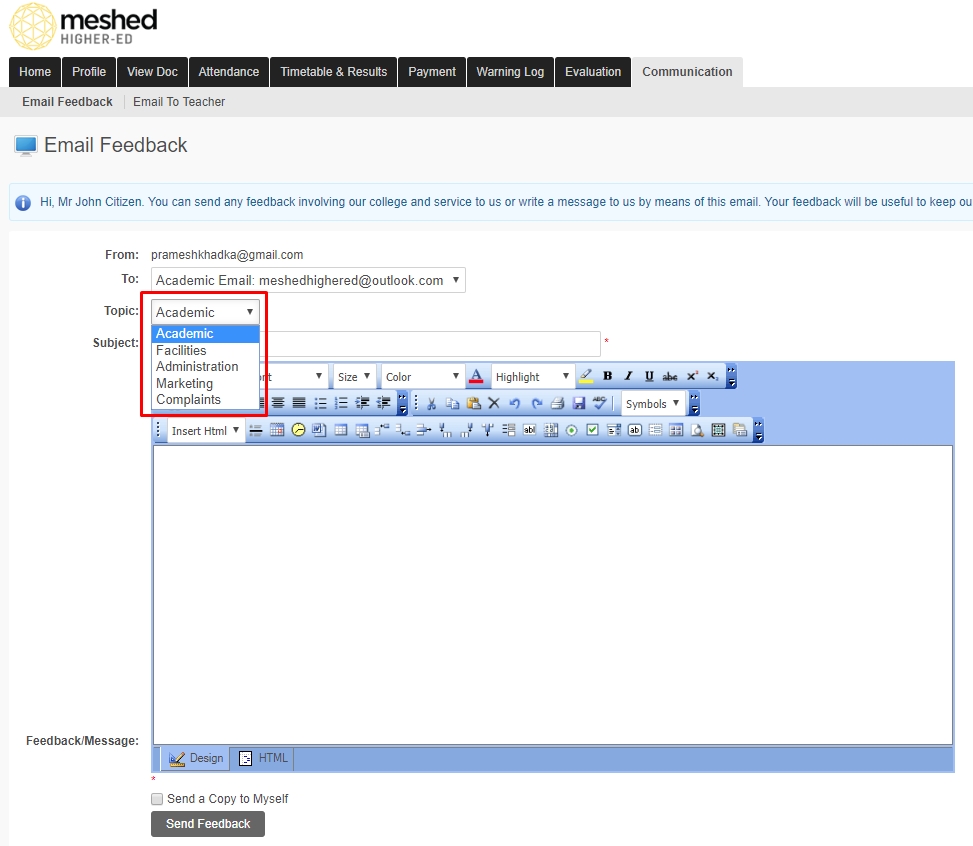
Email Feedback
This menu allows you to send feedback to your Provider via email. Your feedback is appreciated to facilitate improvement.
Your feedback can be related to Academic, Facilities, Administration, Marketing and complaints.
To use this feature, follow the instructions below:
- Click Communication > Email Feedback
- Select the To Email address e.g. Academic, Payment
- Choose the related Topic from the drop-down
- Type in your email and click Send Feedback.
Note: To send a copy of this email to yourself as a record, tick the Send a Copy to Myself box.
Email to Teacher
This menu allows you to send email to your Teacher. The email can be related to a Course and Unit.
To use this feature, follow the instructions below:
- Click Communication > Email To Teacher
- Select the Course
- Select Unit
- Select Teacher
- Type in your email and click Send Email.
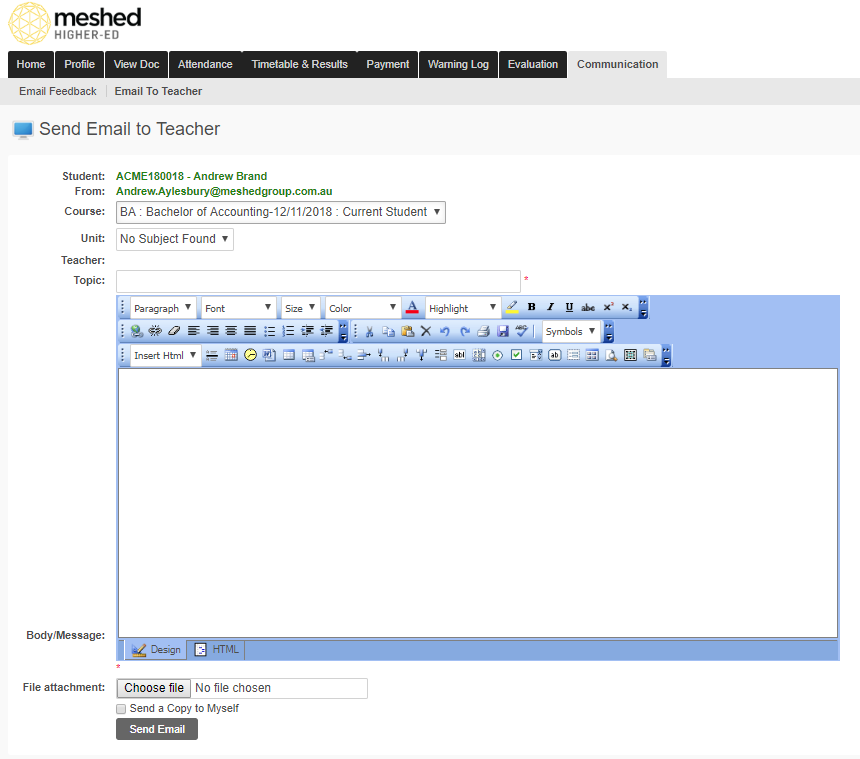
Note: To send a copy of this email to yourself as a record, tick the Send a Copy to Myself box.
Preventing email sent from Meshed System being considered as spam or treated as Junk email
To assist with preventing email sent from Meshed Student Management System from being considered as spam and treated as Junk email, our Network Administrator has suggested adding or modifying an SPF record in your DNS server. Further information see Ensuring Email Delivery
Communication History
This menu allows you to view communication (letters, emails etc.) issued to you by. These can be related to accounts, offers and student services such as attendance, failed subjects or assessments.
If you want to view the communication, click the view icon located on the right hand of the list ![]()

